

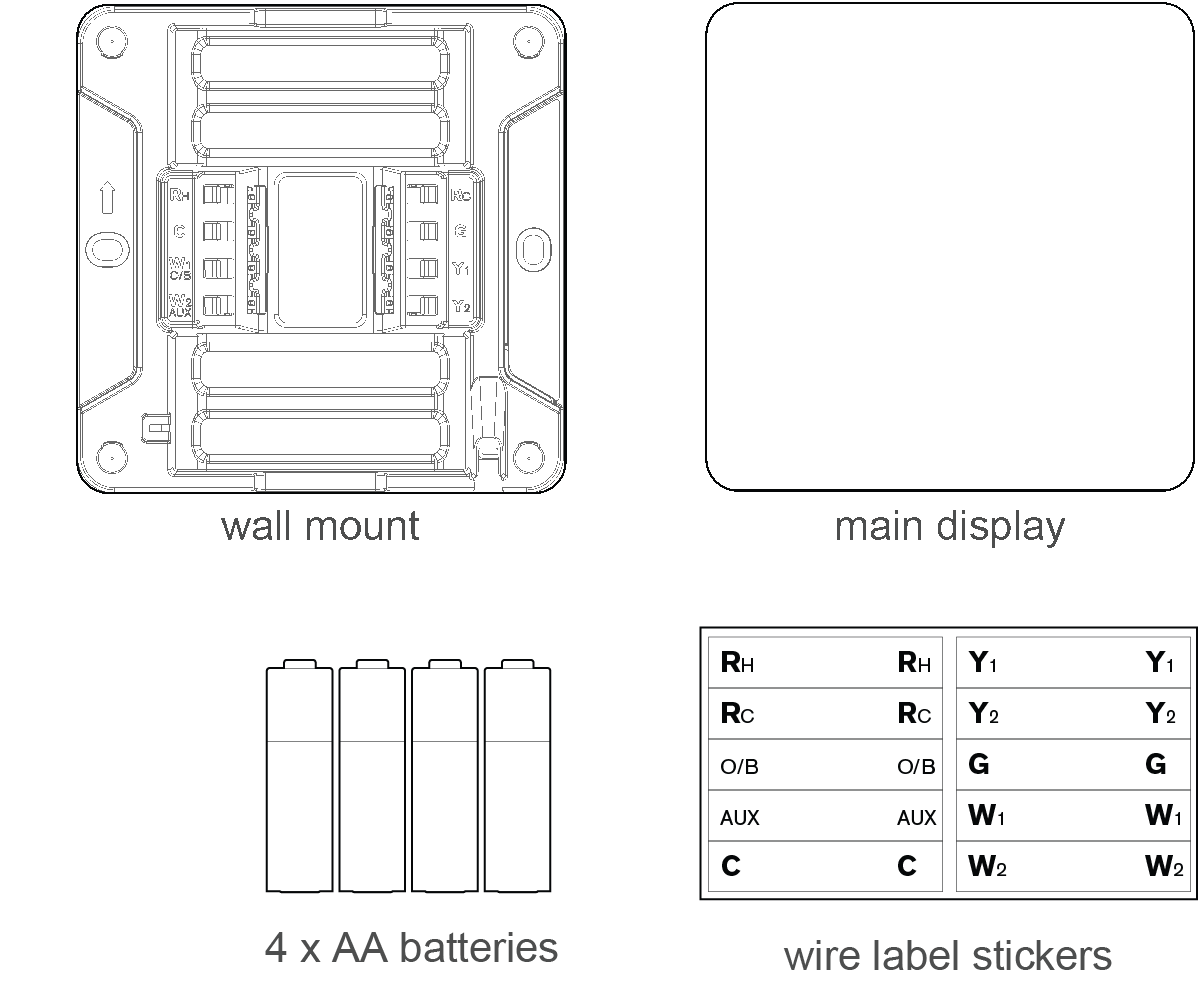
Inside the box
What you need


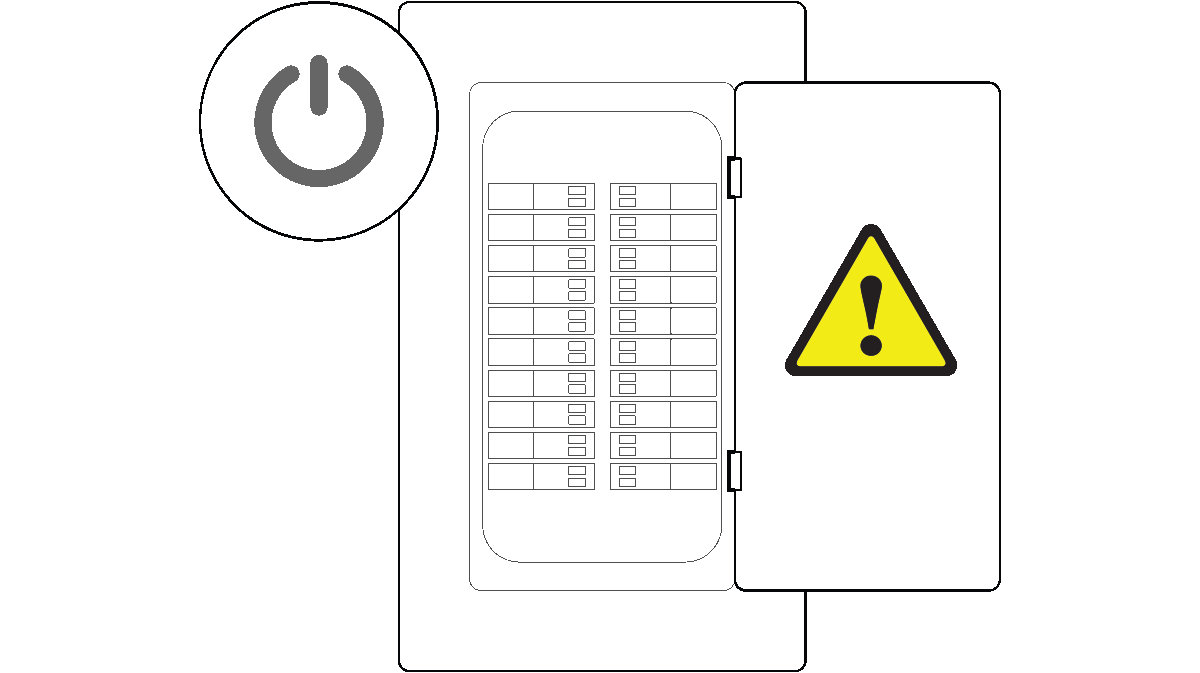
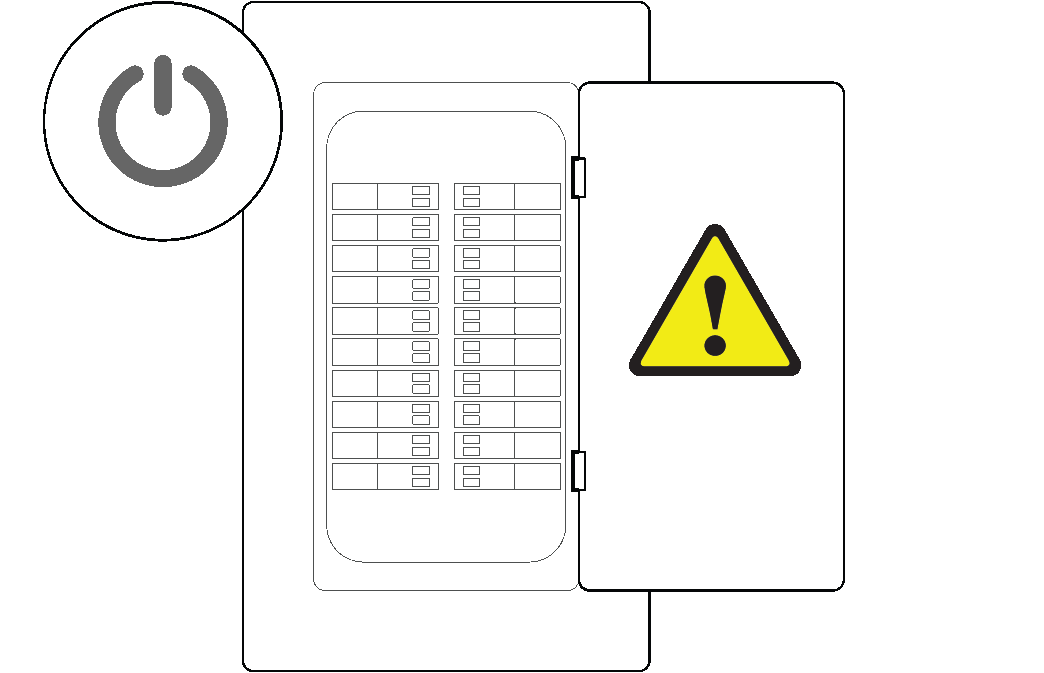
Is your system labeled 120V-240V?
If so, your system is high voltage and is NOT compatible with ZEN.
If you’re unsure, please contact your home automation provider or HVAC installer.
Do you see thick wires with wire-nuts?
If you do, your system is high voltage and is NOT compatible with ZEN.
If you're unsure, please contact your home automation provider or HVAC installer.

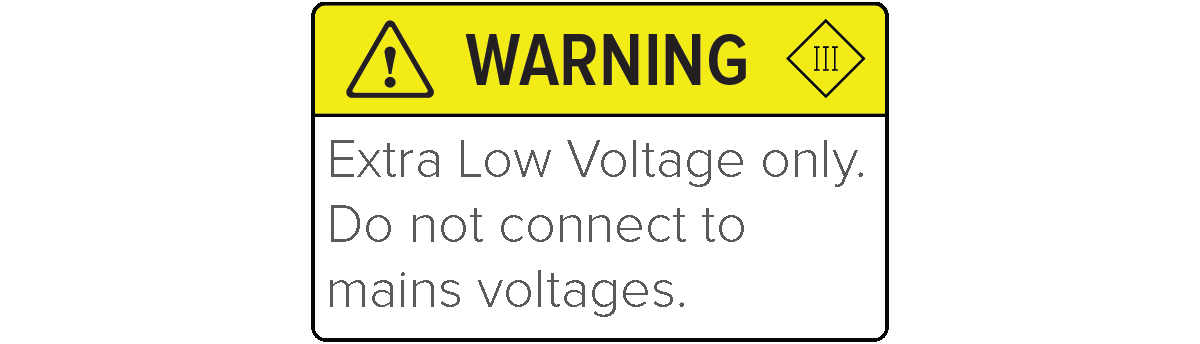
WARNING: Do not allow wires to fall into wall cavity.
WARNING: Ensure that any wires that will not be reconnected are properly insulated.
TIP: Check wires have between
5/16 - 3/8in (8-10mm) exposed core.

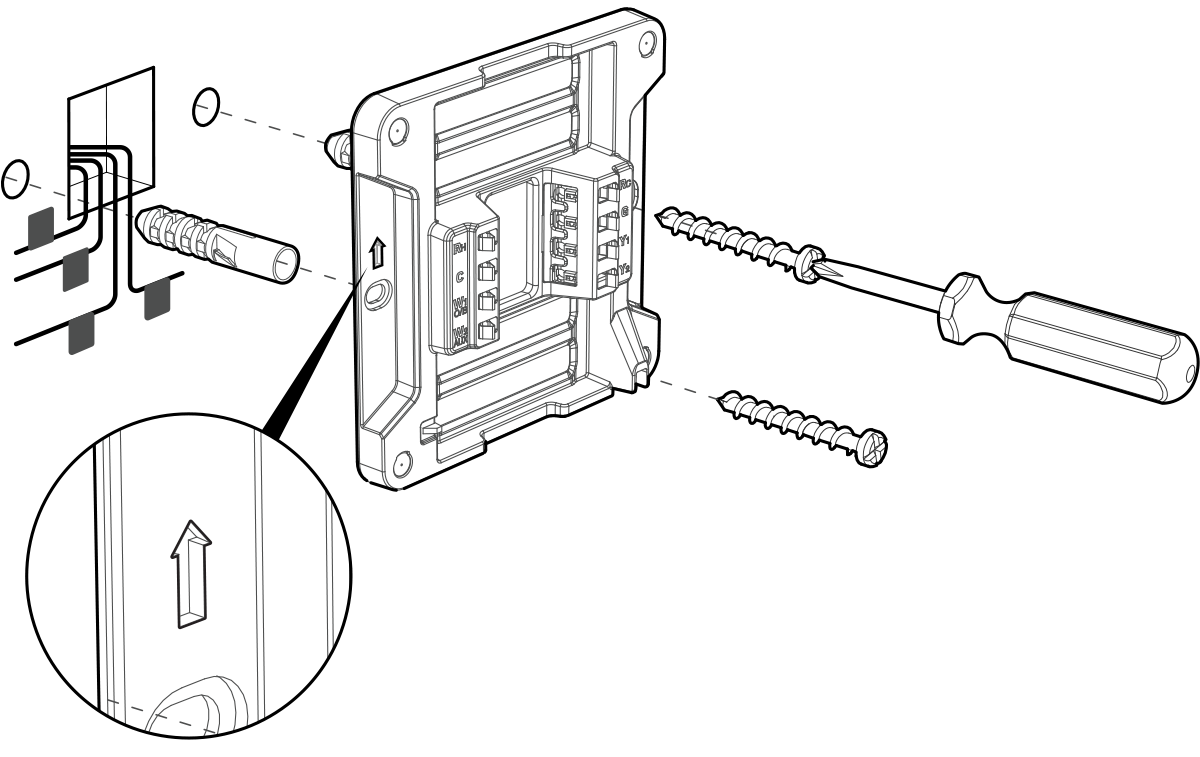
TIP: Use a level to help align the wall plate.
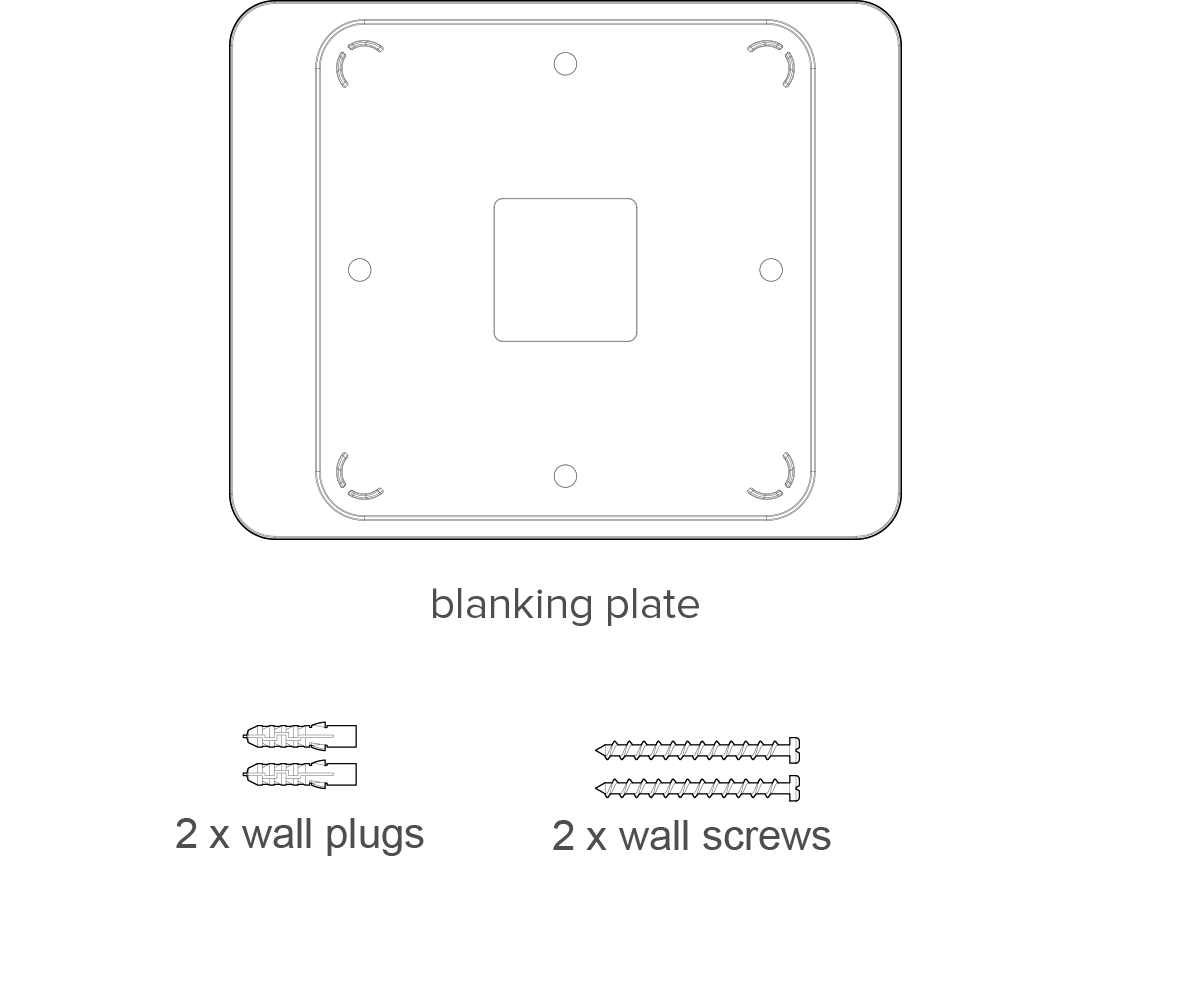
If your previous thermostat was larger, you may chose to use the blanking plate to cover any unsightly areas.
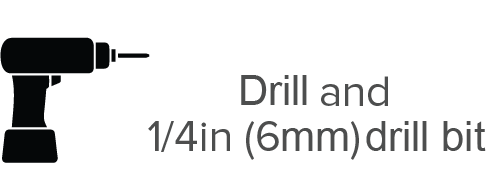
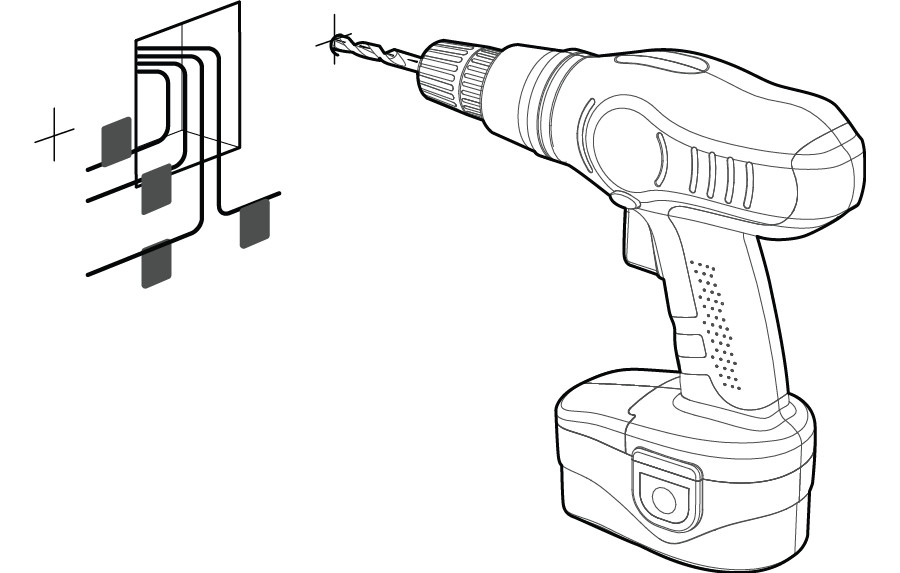
Use a 1/4in (6mm) drill bit if using the wall plugs
Ensure that the wires are kept out of the way when drilling
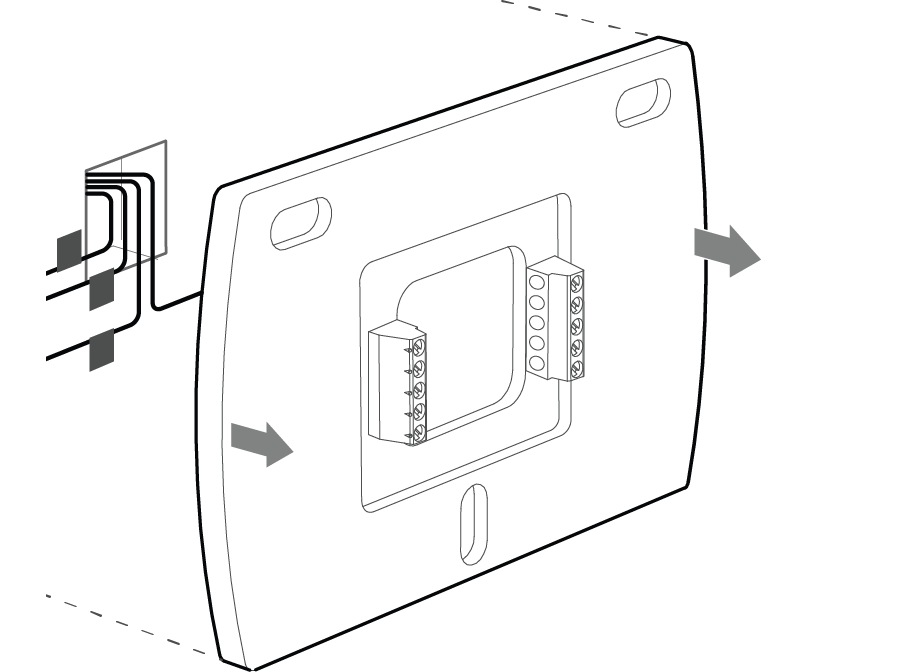
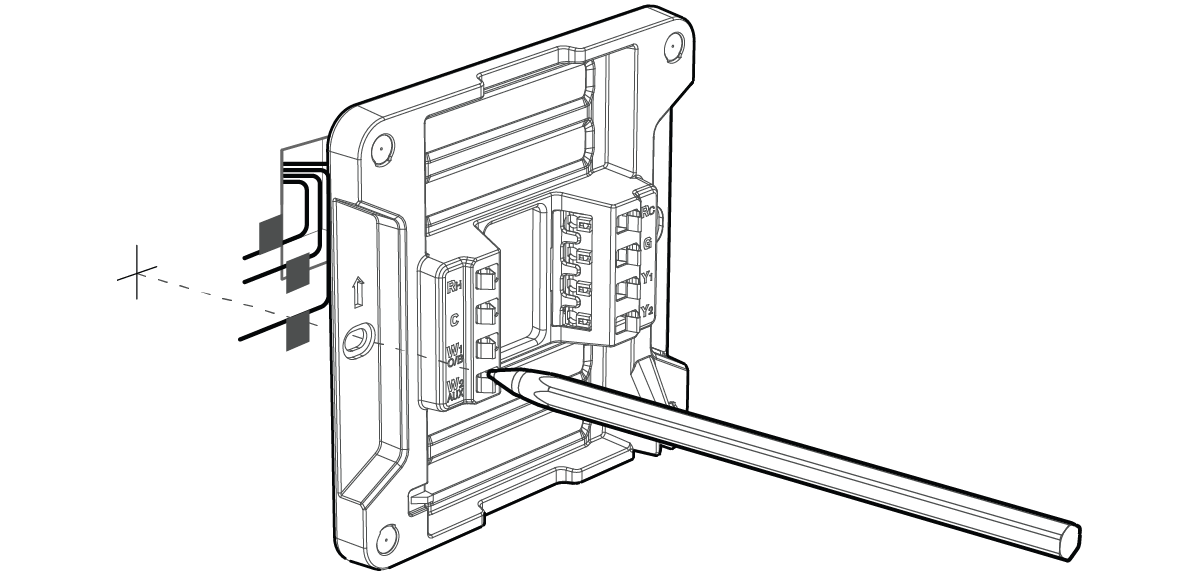
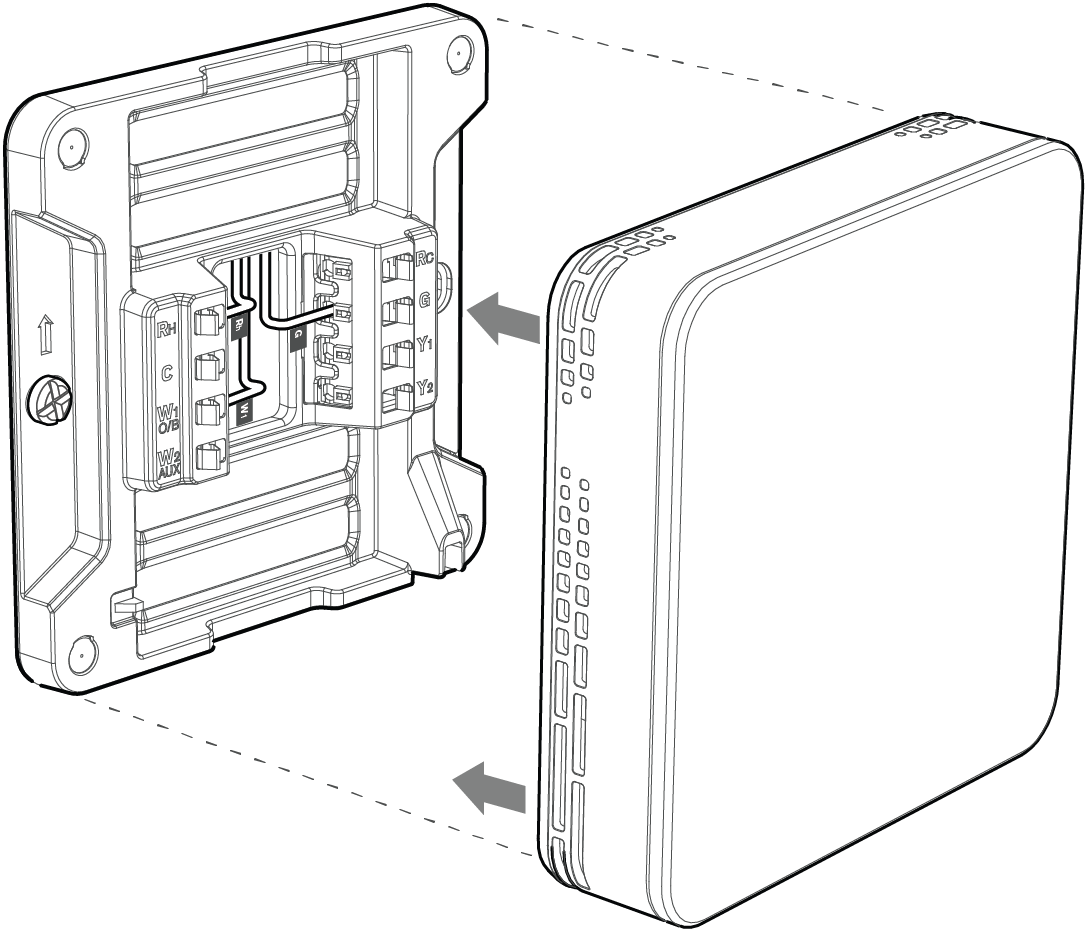
Simply push the wires into the corresponding holes as shown in the image below.
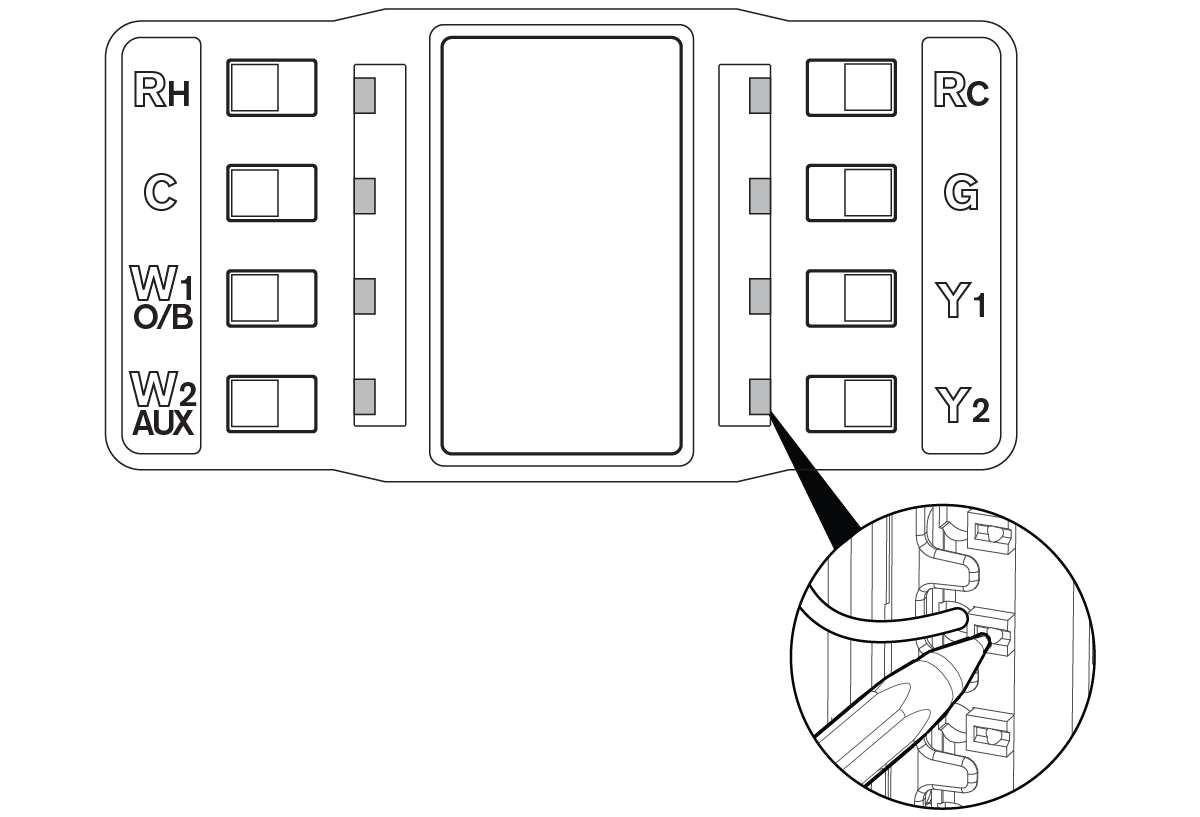


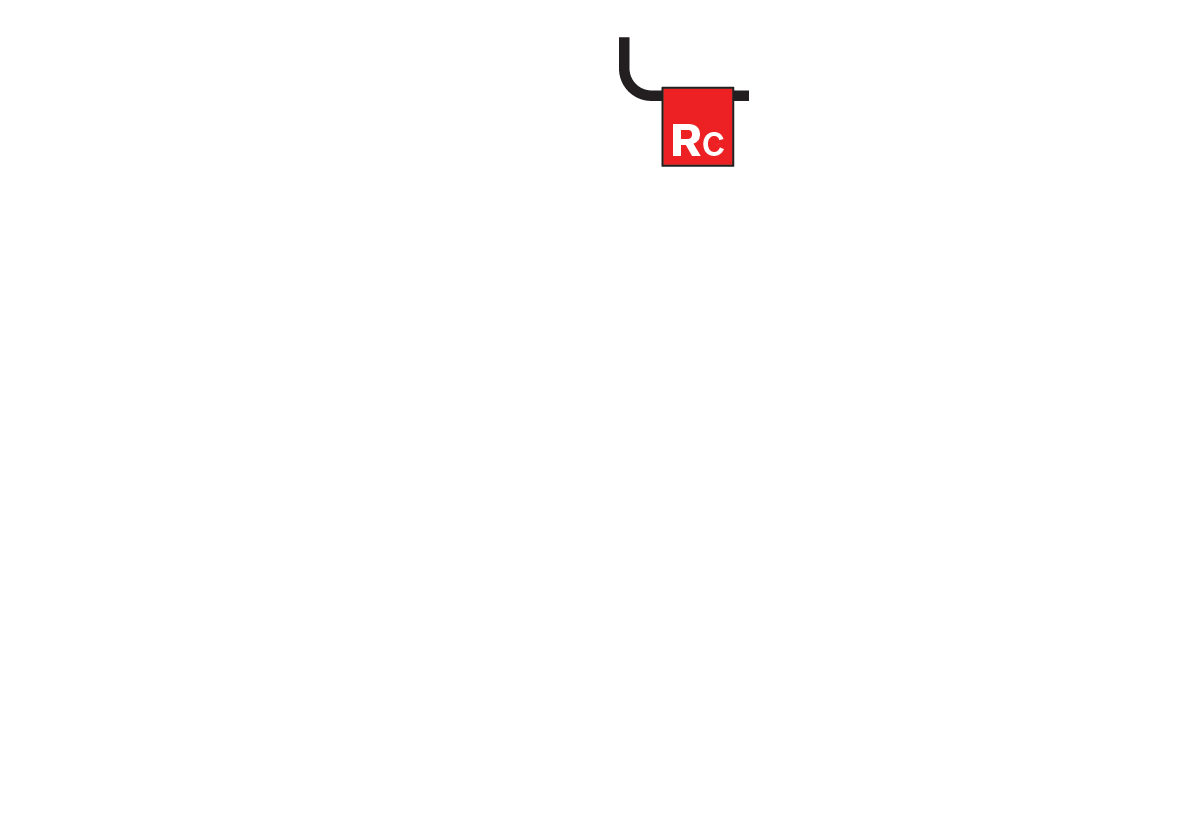


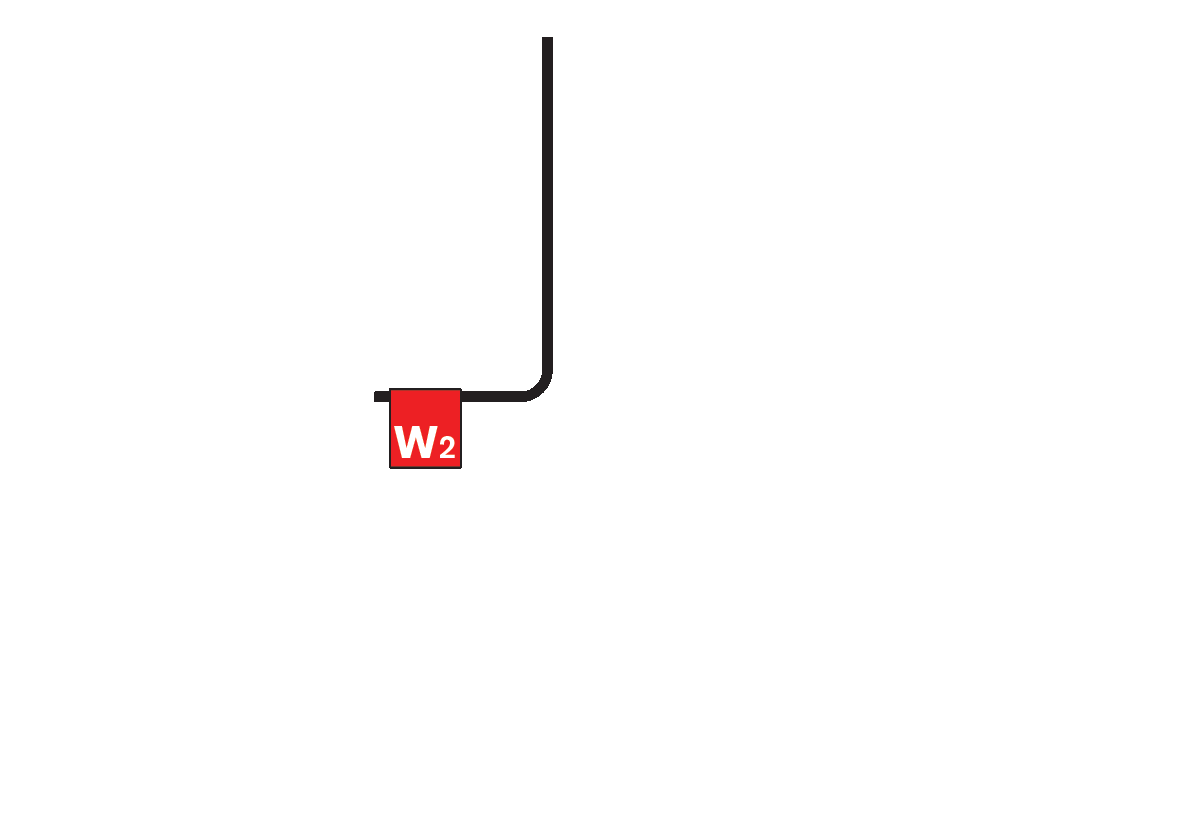
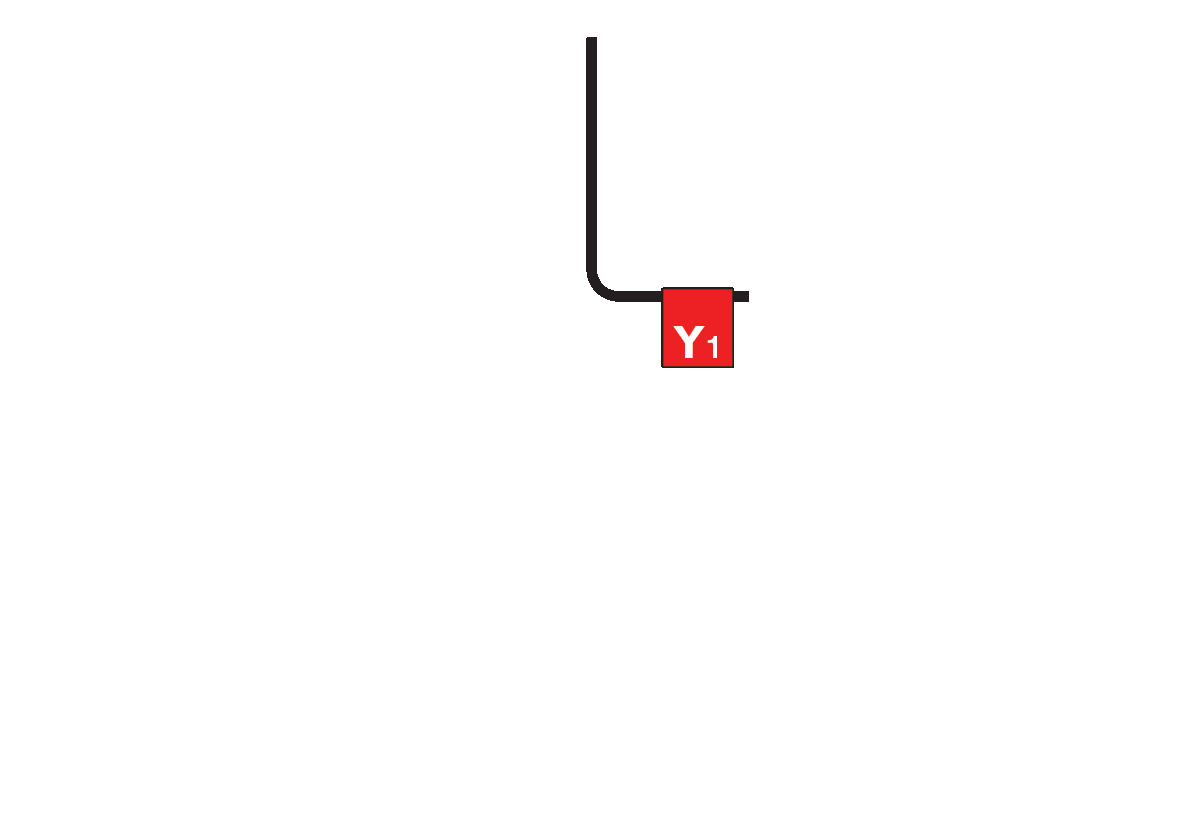
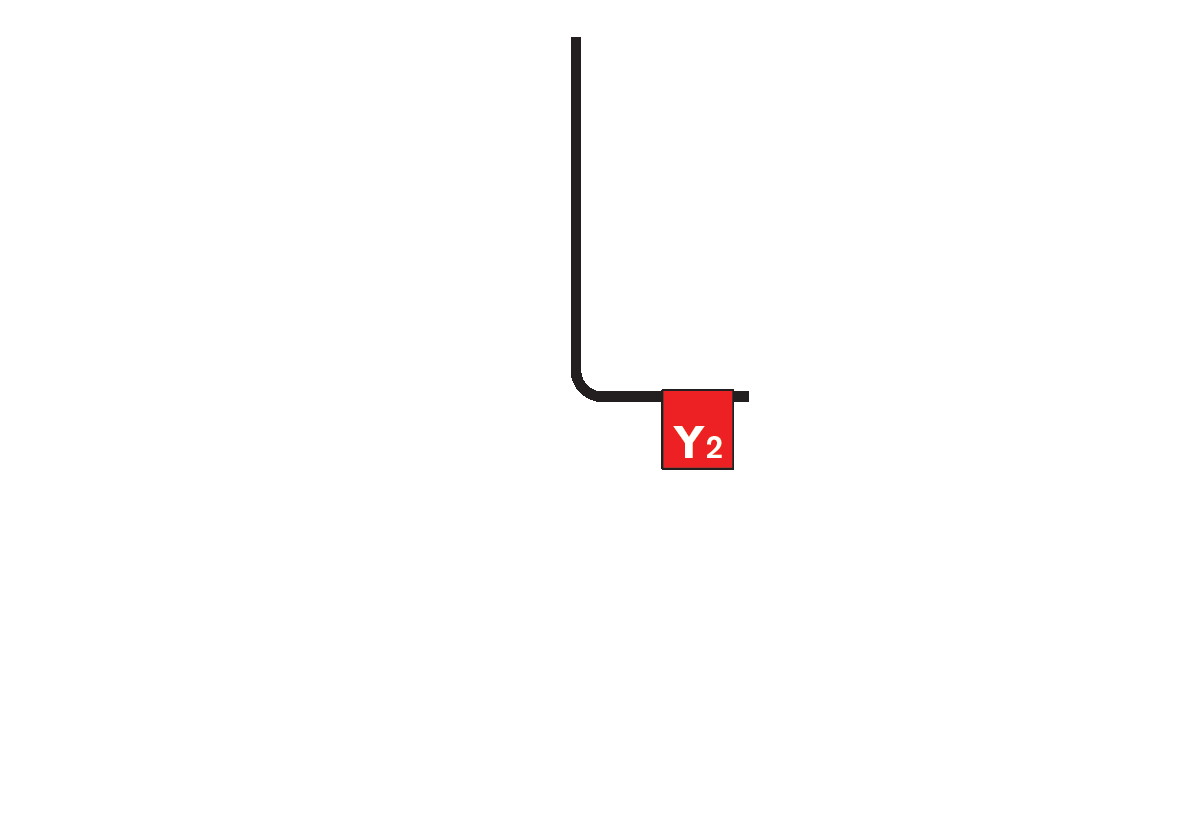
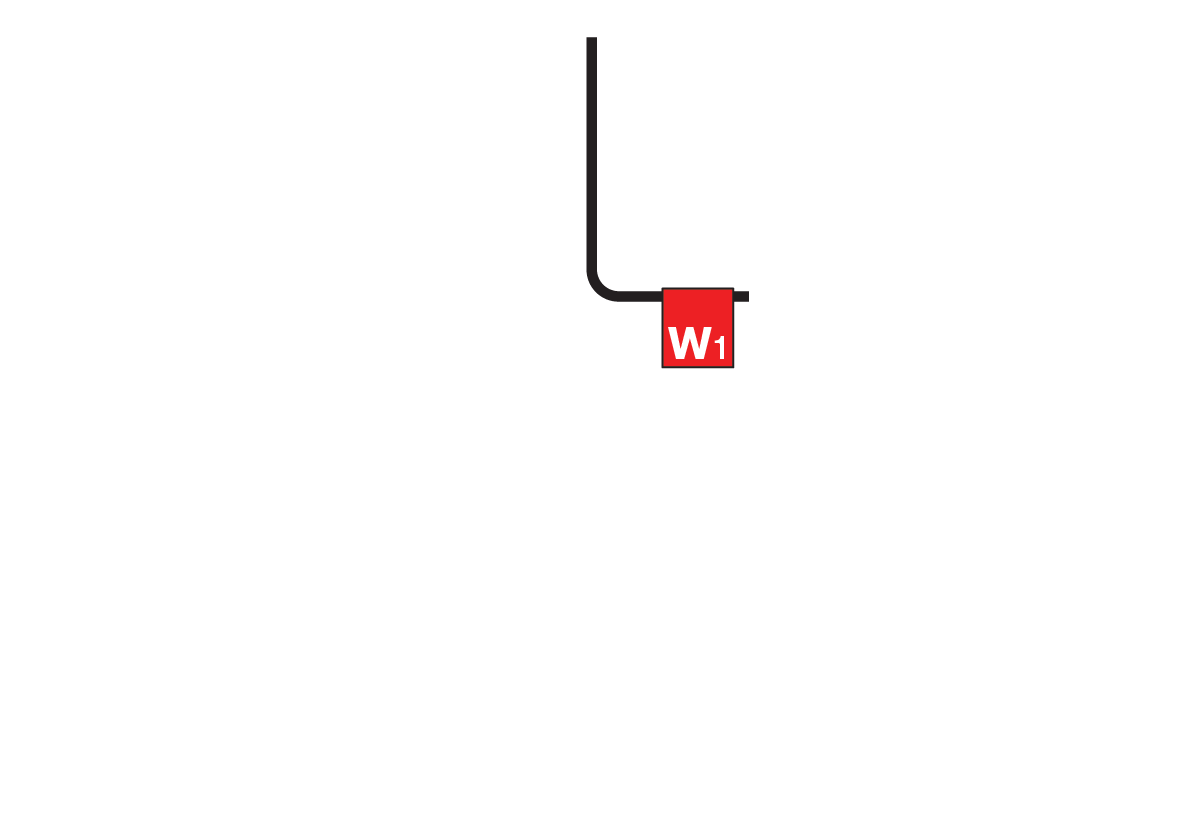
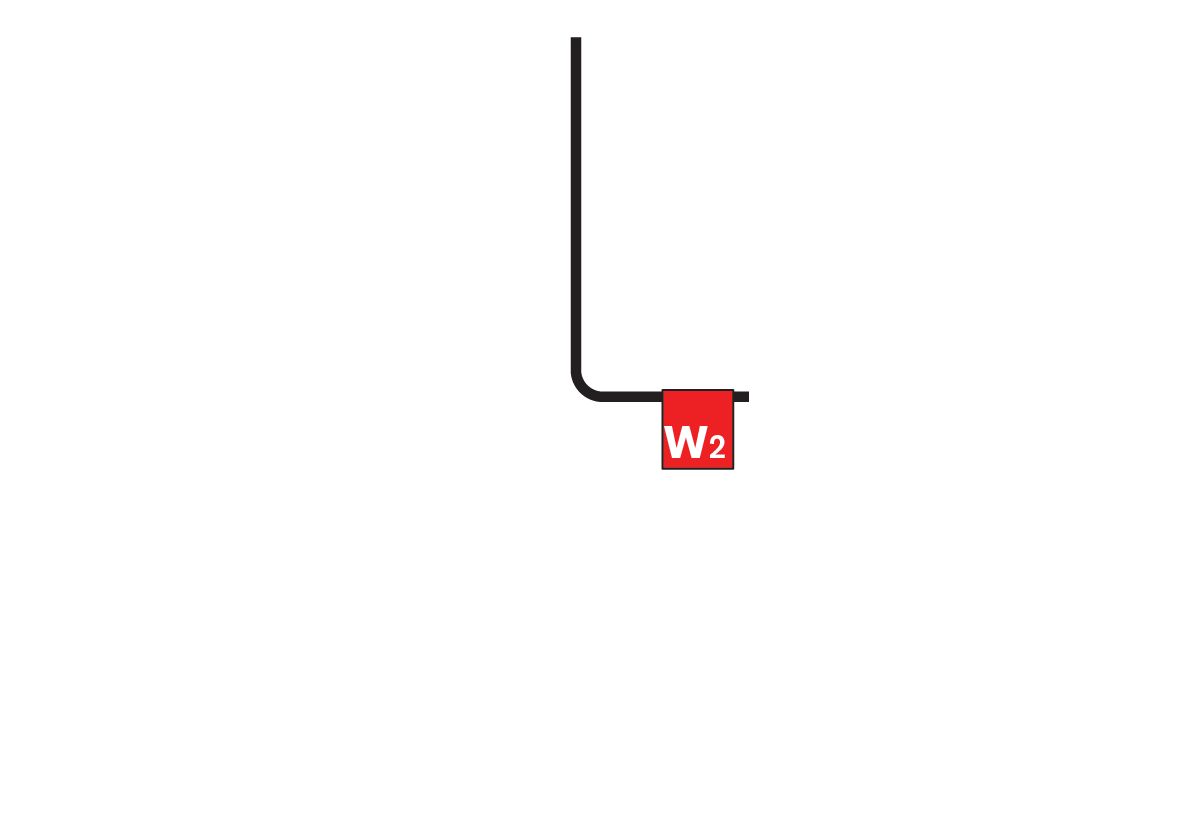

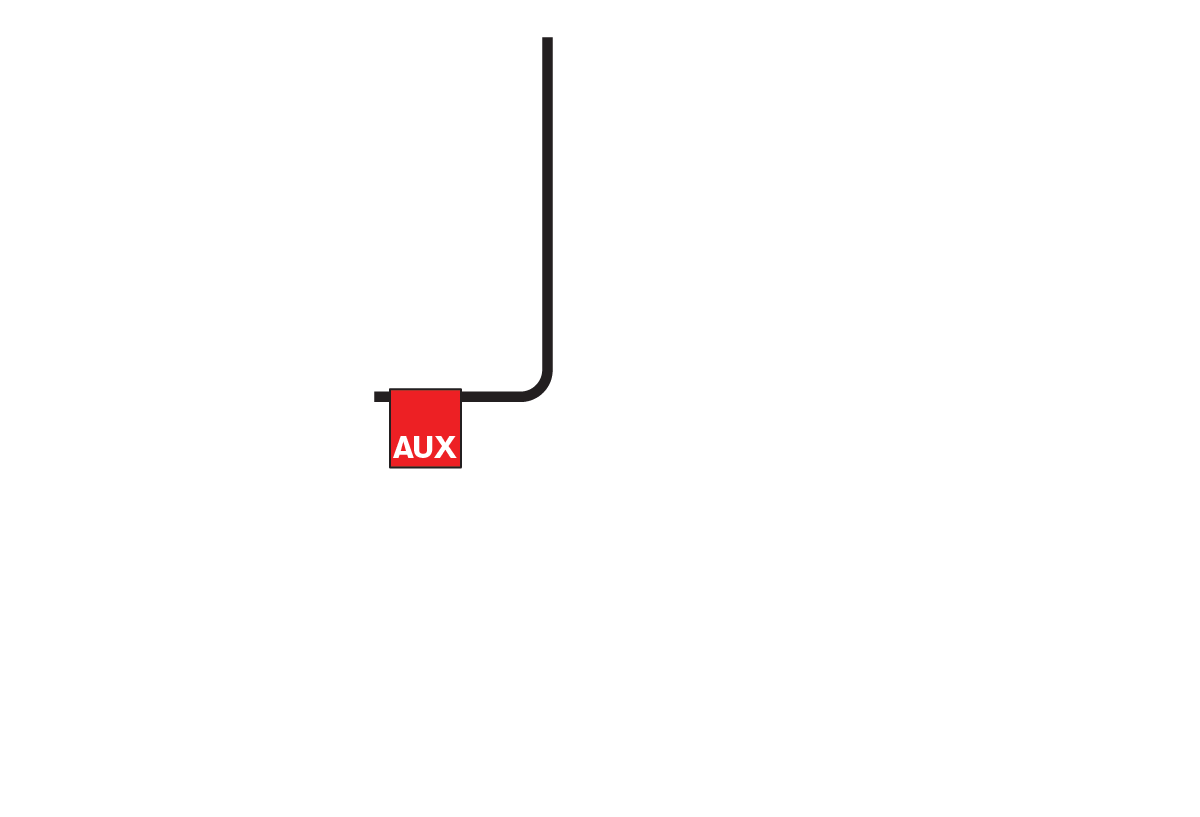
The white Release Button can be pressed with a pen to make insertion easier or release the wire. You may need to twist the exposed core to help the wires into the holes.

After your wires are connected, make sure they are secure by lightly pulling on them. Ensure the wires are then pushed back and flush with the wall-plate.
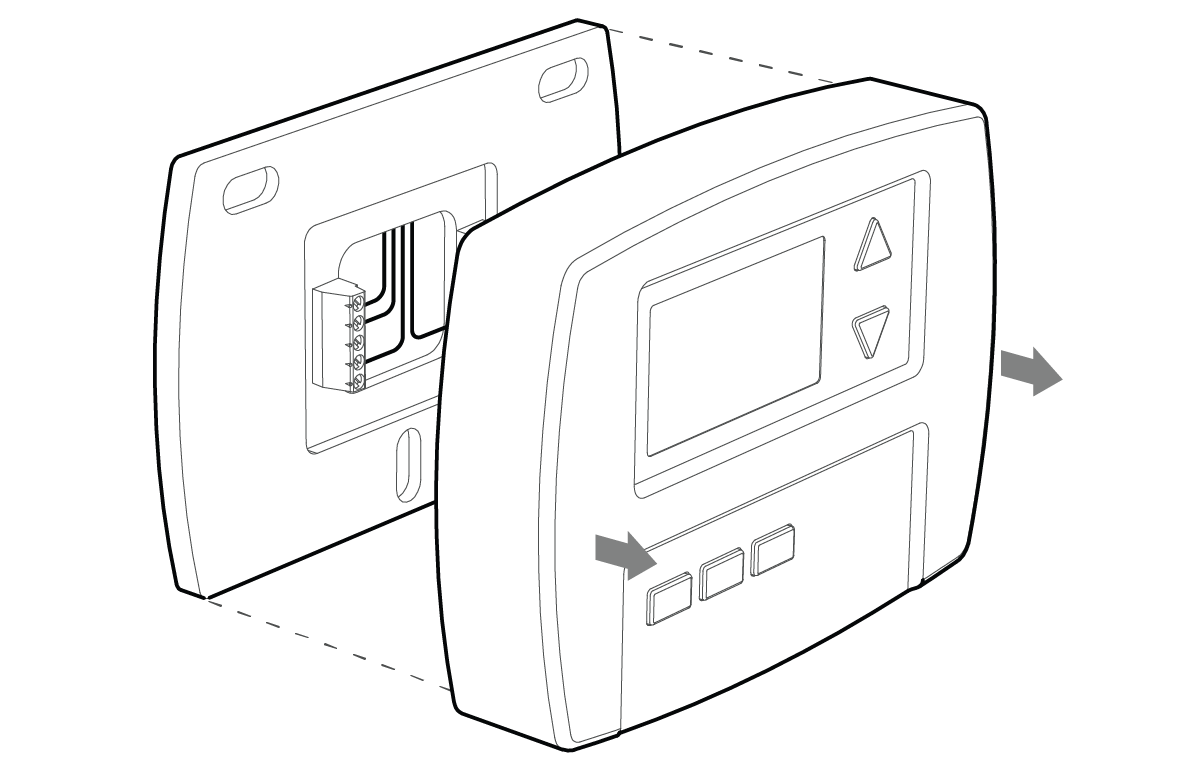
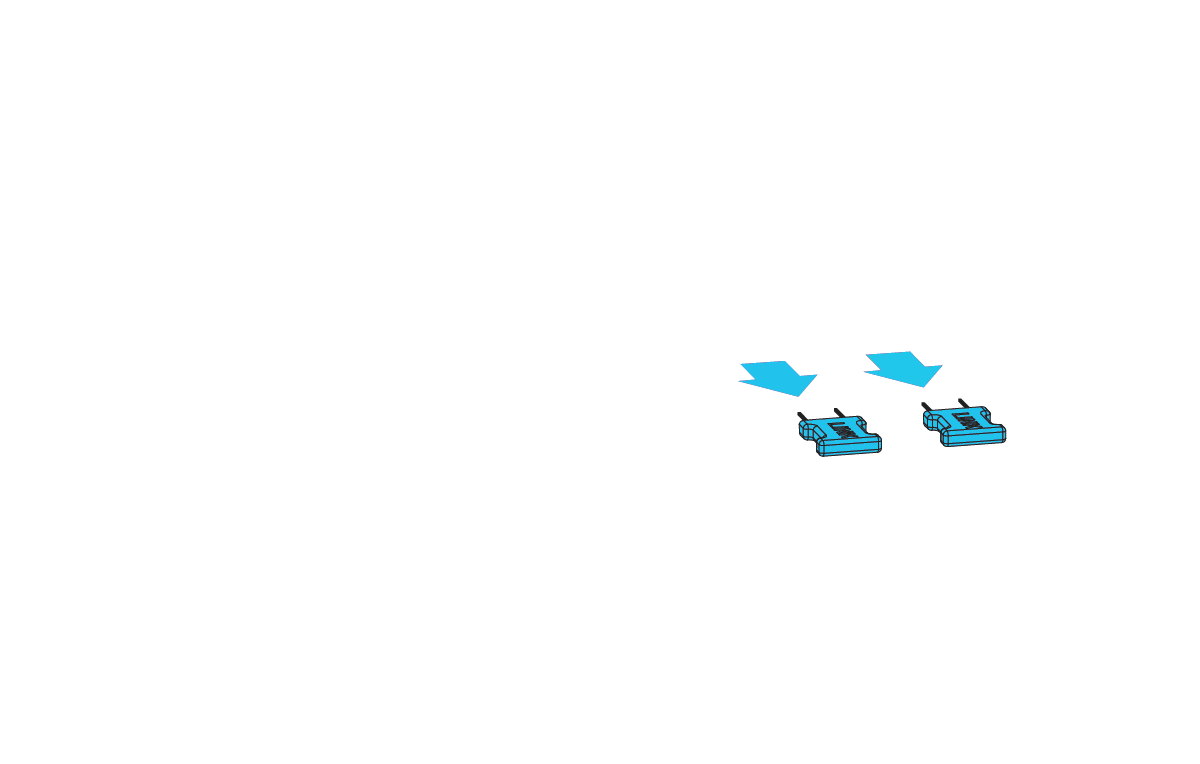
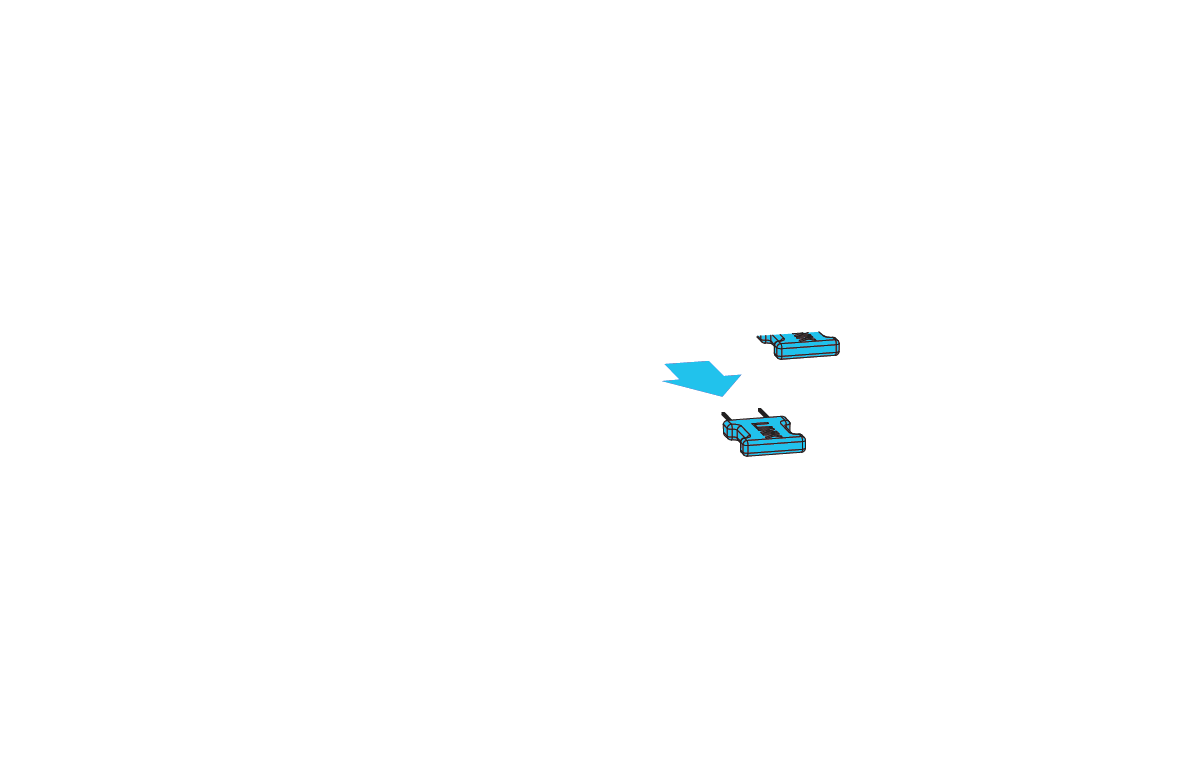
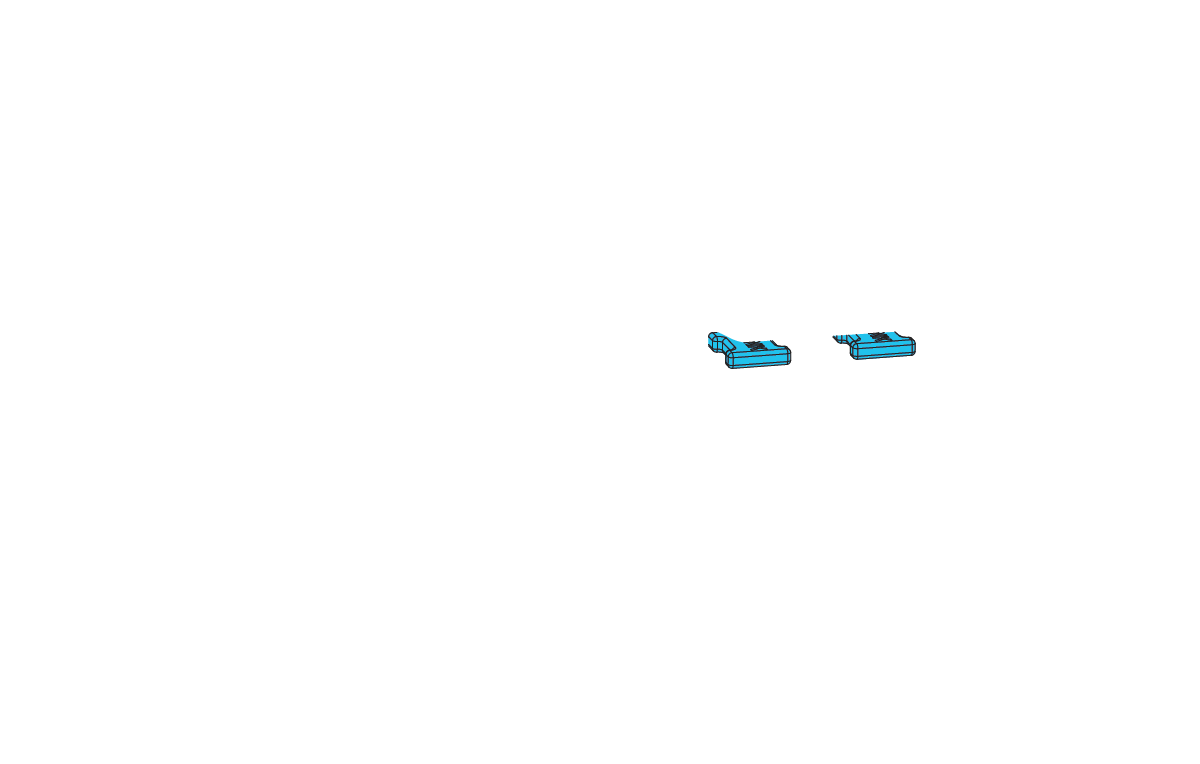
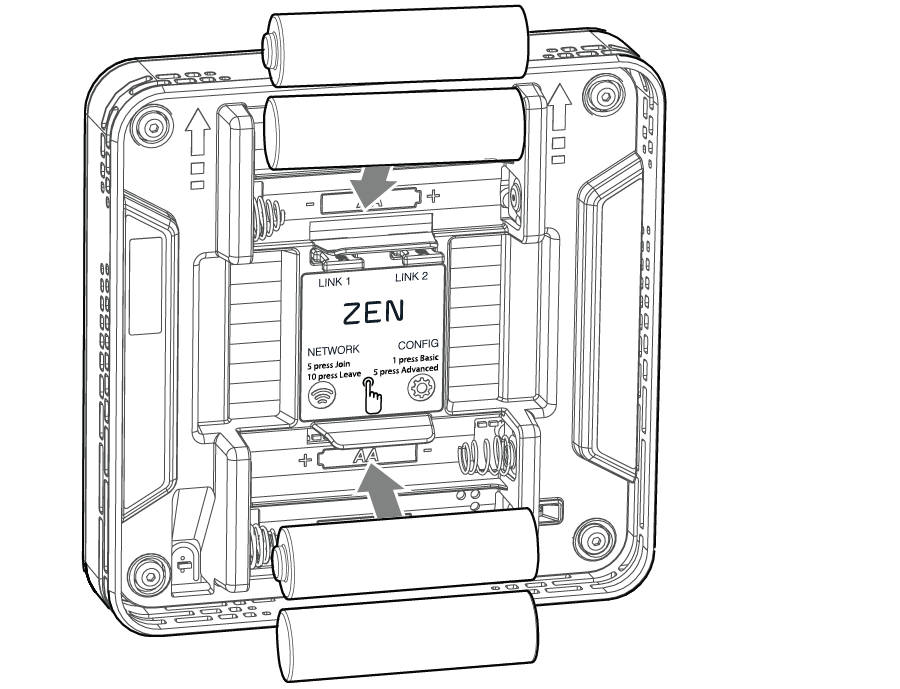
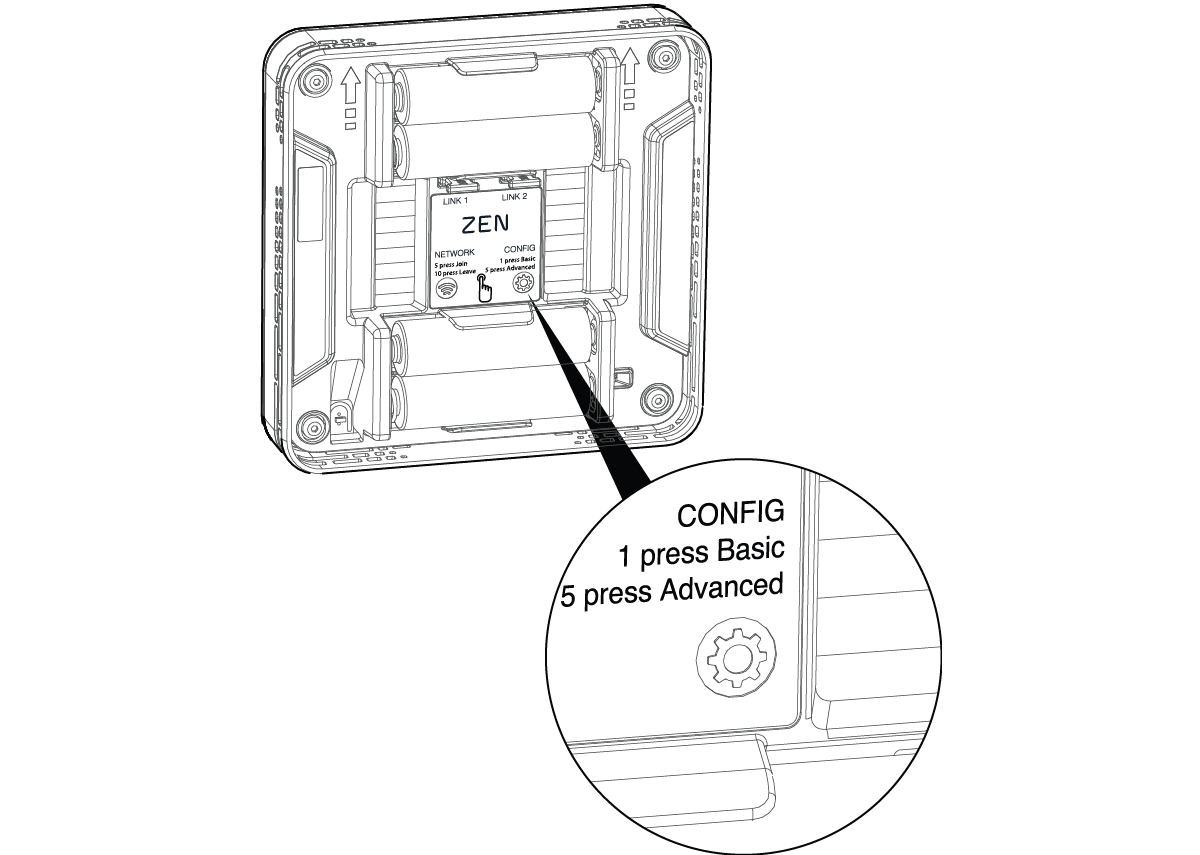
Check that you have both links inserted in the back of the main display as shown.
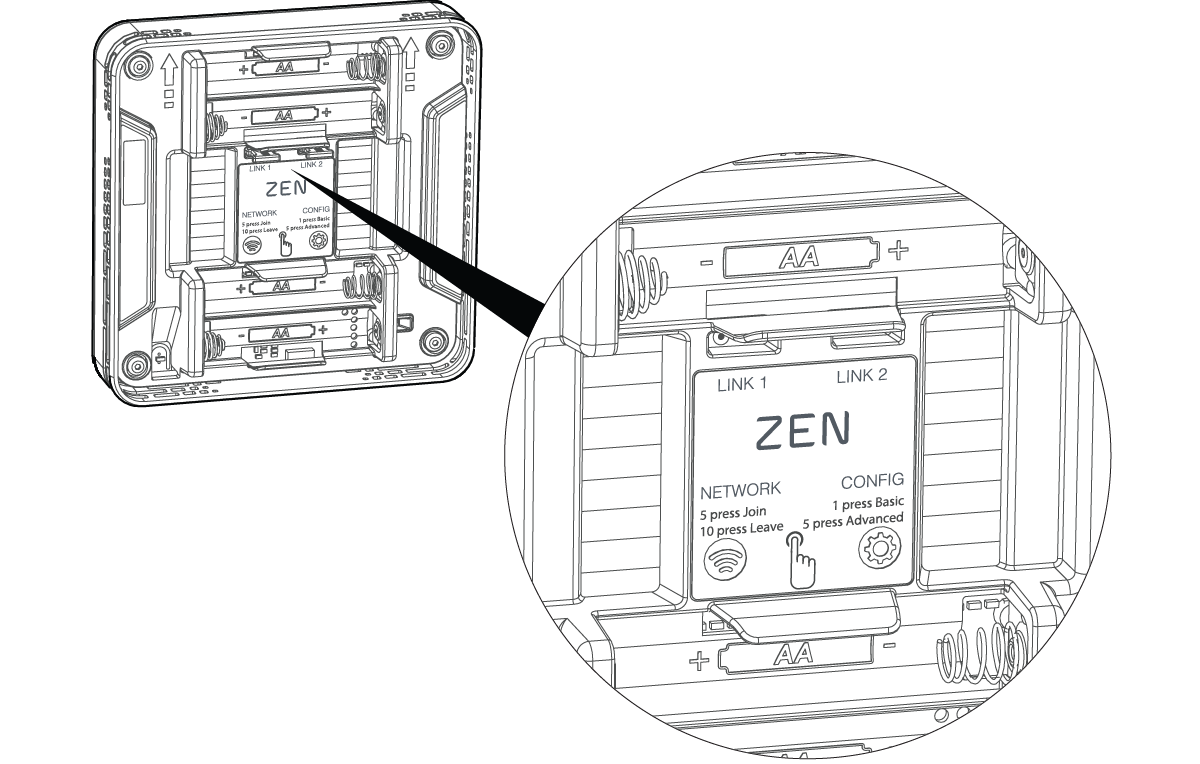

Insert the 4 x AA batteries supplied with the unit.
When you insert the batteries the first screen you'll see will be the preferences screen.

Your system code ensures that the thermostat is configured correctly for your system. Press the CONFIG button once to enter configuration mode.
Your system code
This code tells the Zen Thermostat what wires you have connected and what type of heating and cooling system you have.
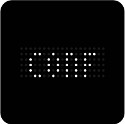
Center touch to begin configuration.
The system code above has been generated based on your specific system configuration
Touch up or down to find your system code.
Center touch to select. The code will flash to confirm selection.
Your system code tells Zen everything it needs to correctly operate your heating and cooling system.
Your Heating Type:
Your Cooling Type:
Your system have separate fan control
Your system have emergency heating
Your system use a reversing valve to select between heat and cool
Your system COOLS when the reversing valve is turned on
If you have a ZigBee enabled home network installed, you can connect this with your Zen thermostat to enable additional functionality such as controlling the temperature of your home with your smartphone.
The connection process can differ between systems, so please refer to the user guide that came with your home network.
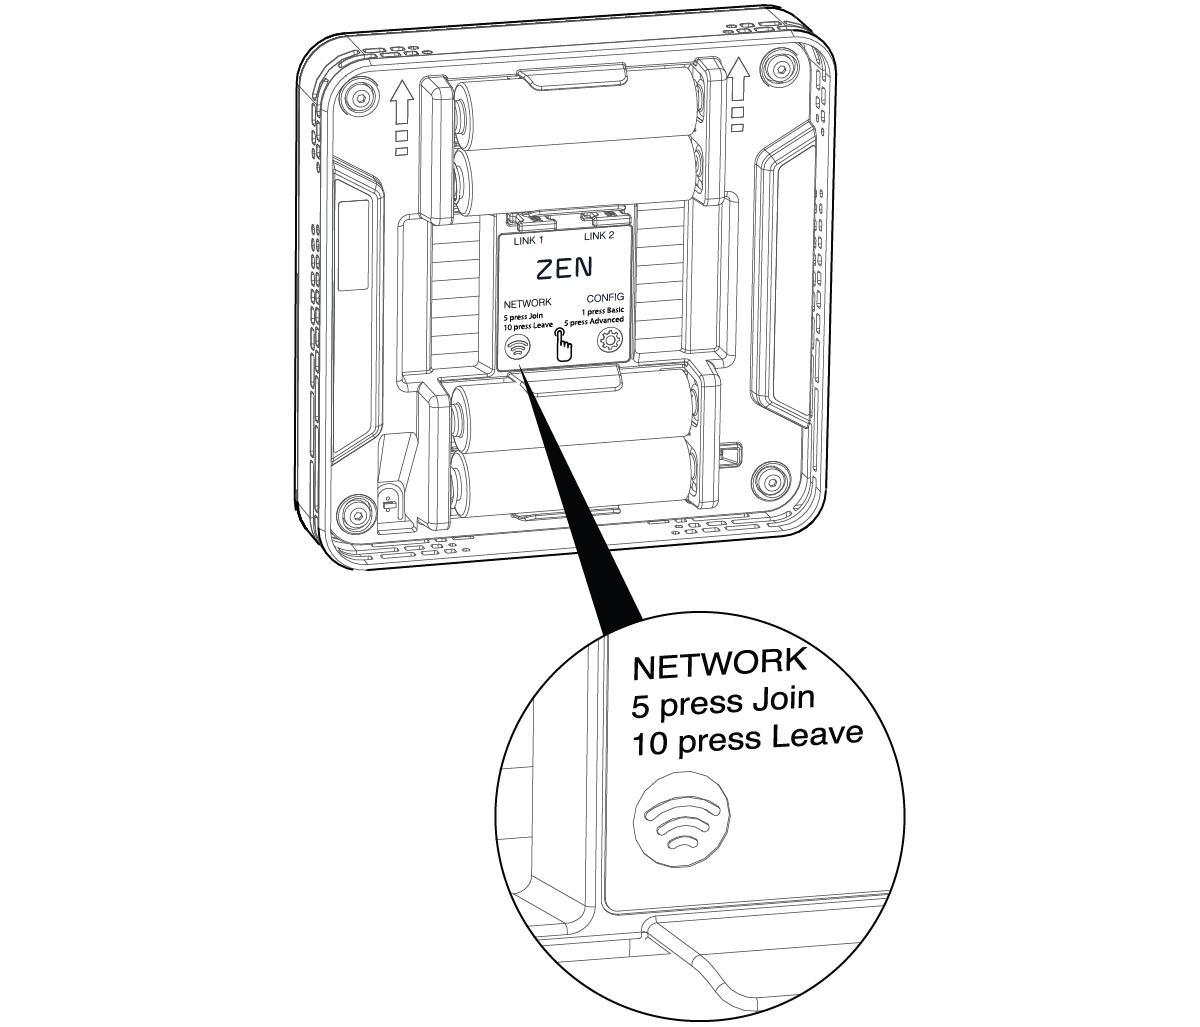
Once you’ve set your home network to search for a new device, remove the display from the wall mount and press the NETWORK button 5 times (the thermostat will beep on each button press).
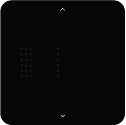
The wireless icon ![]() will start flashing when pairing with your home network. Once connected it will stop flashing and remain illuminated.
will start flashing when pairing with your home network. Once connected it will stop flashing and remain illuminated.

Congratulations you have now completed your ZEN installation and setup.
Review the quick start guide in the packaging for tips on using ZEN or watch this video:
Have any further questions? Check out our FAQ
Advanced configuration allows a professional HVAC installer to set more detailed system parameters.

Any changes made in advanced configuration will override basic configuration settings, so it recommended that only a knowledgeable HVAC installer use the Advanced settings.
Advanced settings ▶